
KEY TAKEAWAYS
- Lux calculation helps check whether a selected fixture can meet the brightness target before ordering samples.
- IES files provide photometric data for more realistic comparison than wattage or lumen values alone.
- Heatmaps reveal dark zones, over-lit areas and uneven spacing that are easy to miss from a product datasheet.
- Simulation results should guide early selection, while final projects still require site conditions and professional review.
01Why lux should be checked before product selection
Many projects begin with a product picture, wattage or lumen value. That is useful, but it does not show how light will actually reach the floor, table, wall or display surface.
A 10W downlight can feel completely different depending on beam angle, ceiling height, spacing, reflector design and room finishes. Checking lux before selection helps designers and buyers avoid a common problem: choosing a fixture that looks correct on paper but cannot deliver the required lighting effect on site.
02What an IES file tells you
An IES file contains photometric distribution data for a luminaire. Instead of only listing total lumens, it describes how the light leaves the fixture in different directions.
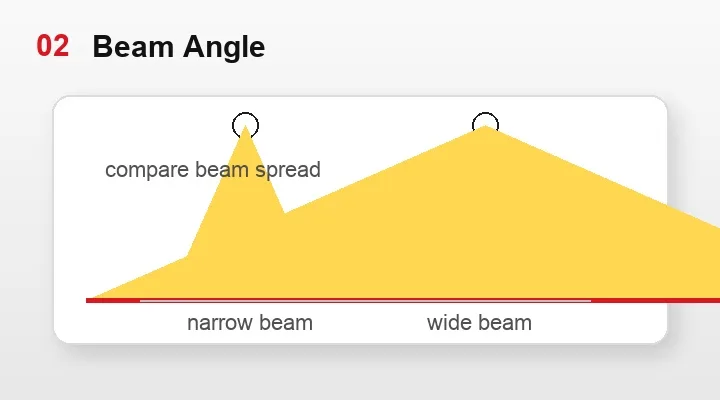
This is why IES data is useful when comparing downlights with different beam angles. A narrow beam may produce strong center intensity but limited coverage, while a wider beam may create smoother general illumination. The calculator uses this data to estimate how the selected product behaves in a defined room.
03How to use the Artdon calculator
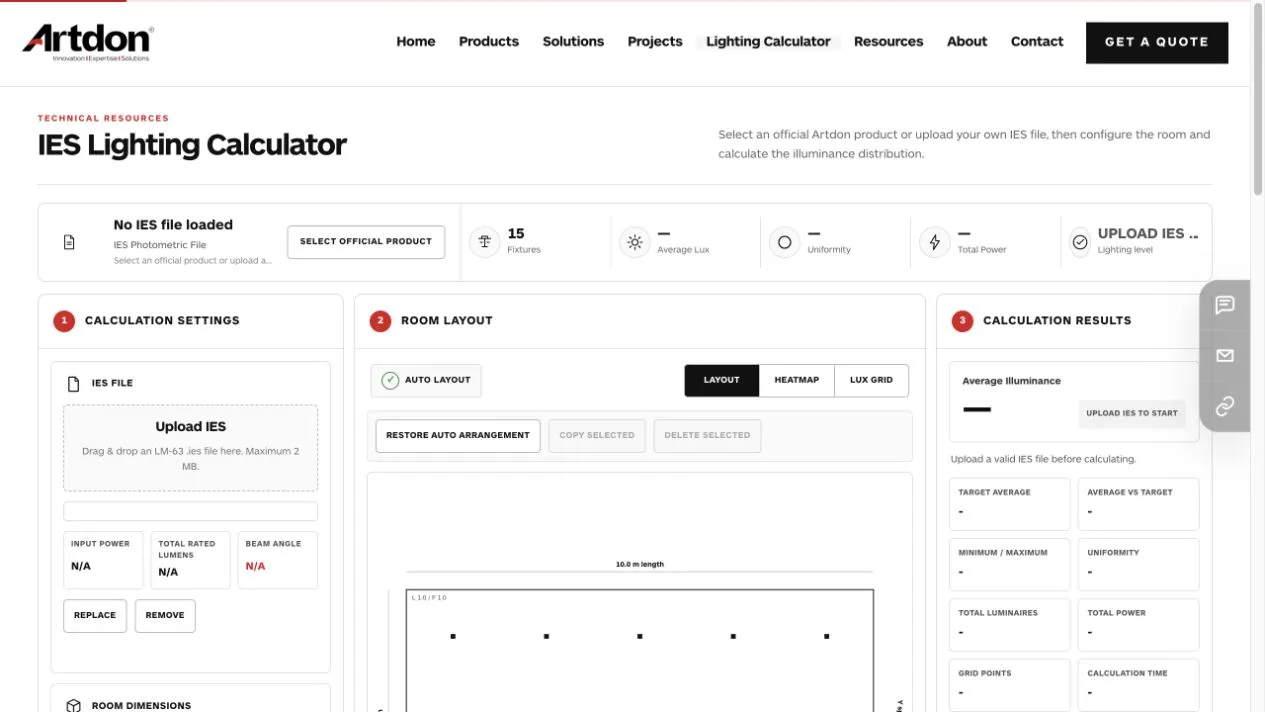
Start by selecting an official Artdon product or uploading an LM-63 IES file. Then enter the room size, ceiling height, mounting height and target illuminance.
The tool arranges fixtures automatically, but the layout can be adjusted when the project requires a different spacing or visual rhythm. After calculation, review average lux, minimum and maximum values, uniformity, total fixture quantity and total power.
Four Checks Before You Specify
01 Target Lux
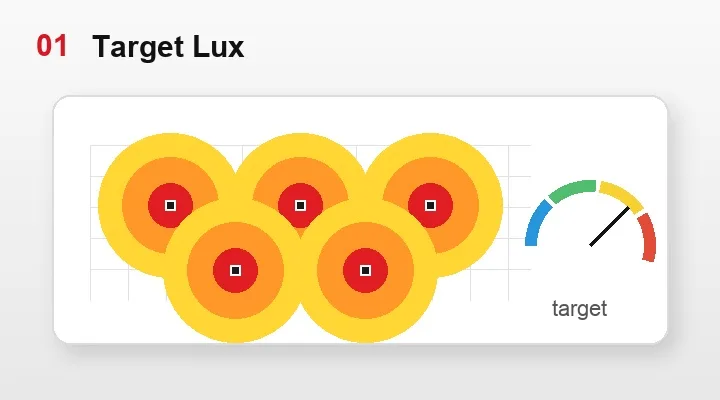
Check whether the average illuminance is close to the project requirement, not simply whether the fixture has enough wattage.
02 Beam Angle
Compare narrow and wide beams to see whether the space needs focused accent light or smoother general coverage.
03 Uniformity
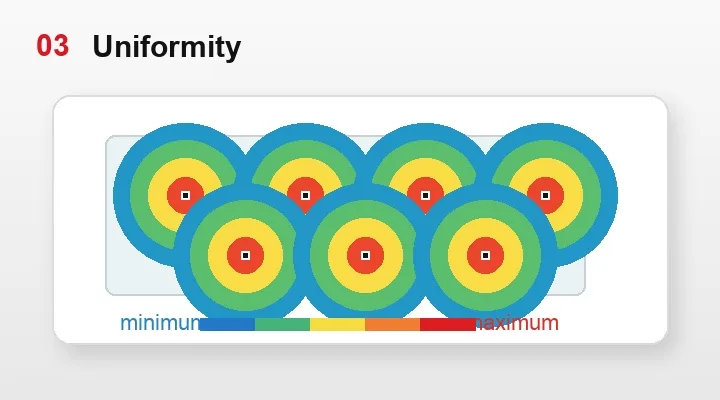
Review minimum, maximum and average lux together so the room does not become bright in one area and weak in another.
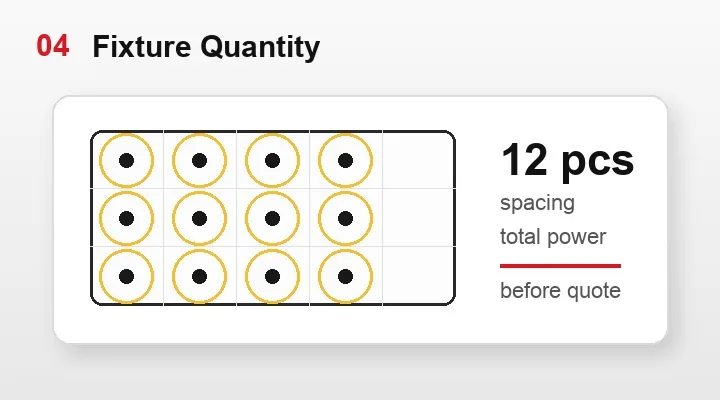
04 Fixture Quantity
Use the layout result to estimate product quantity, spacing and total system power before quotation.
04How to read the heatmap and lux grid
The heatmap gives a quick visual answer: where is the space too bright, too dark or uneven? Warm or high-intensity zones show stronger illumination, while weaker zones reveal areas that may need closer spacing, a different beam angle or higher output.
The lux grid is useful when a project needs more precise review. It helps compare readings across the calculation area instead of relying on a single average number. A good result is not always the highest lux value; it is the right balance of brightness, comfort and uniformity for the task.
What to Review in a Lux Simulation
| Result | What It Means | Why It Matters |
|---|---|---|
| Average Lux | Overall calculated brightness across the selected area | Helps judge whether the lighting plan meets the target level |
| Uniformity | Relationship between darker and brighter calculation points | Reveals whether the room may feel patchy or visually uncomfortable |
| Heatmap | Visual distribution of stronger and weaker illumination zones | Makes spacing, beam angle and aiming problems easier to discuss |
05What the result can and cannot decide
The calculator is designed for early selection and project communication. It helps narrow down product choices, compare beam angles and identify layout issues before the specification becomes fixed.
It should not be treated as a final lighting design certificate. Real ceiling details, furniture, surface reflectance, maintenance factor, driver control, aiming and local standards can change the result. For final approval, combine the calculator result with professional lighting design review and confirmed project conditions.